1. Step-by-Step Software Installation Instructions
AfterMath installation media is included with all Pine Research potentiostats. The installation media contains the latest release of AfterMath available at the time of purchase, the device drivers for communicating with the instrument, and the permissions files that implement the software license.
The installation media contains a file called “setup.exe”. Launch this executable file and follow the instructions on the screen. Screenshots of a typical installation are provided below.
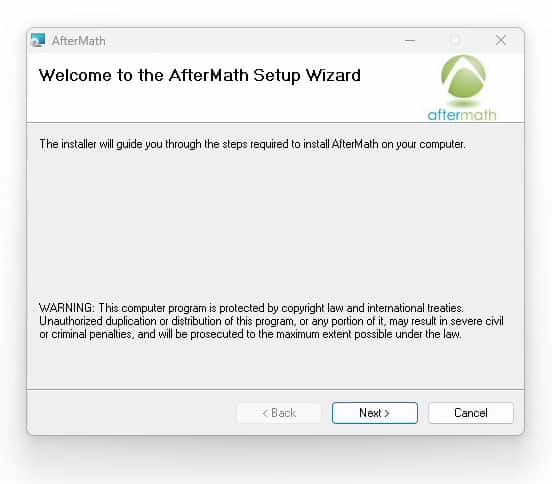
Welcome to AfterMath Setup Wizard
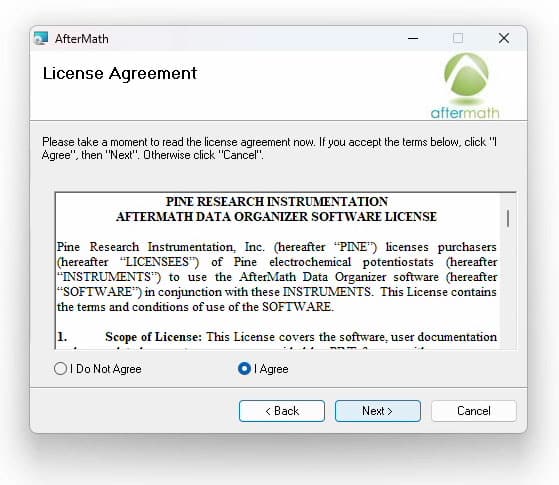
AfterMath Installation License Agreement
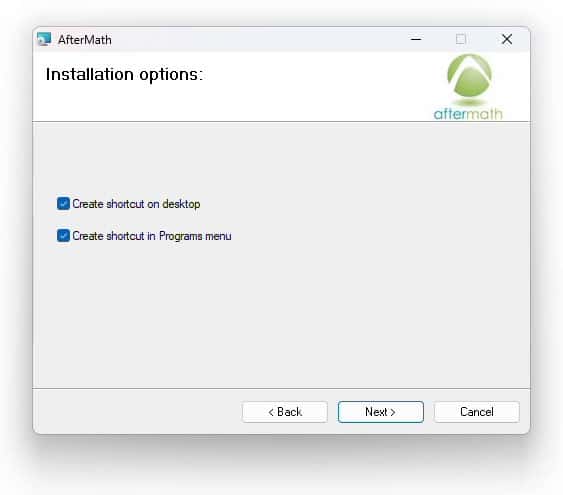
AfterMath Installation Options
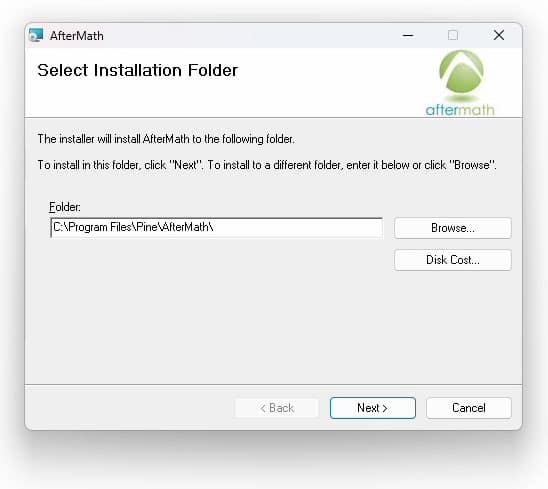
Selecting AfterMath Installation Folder
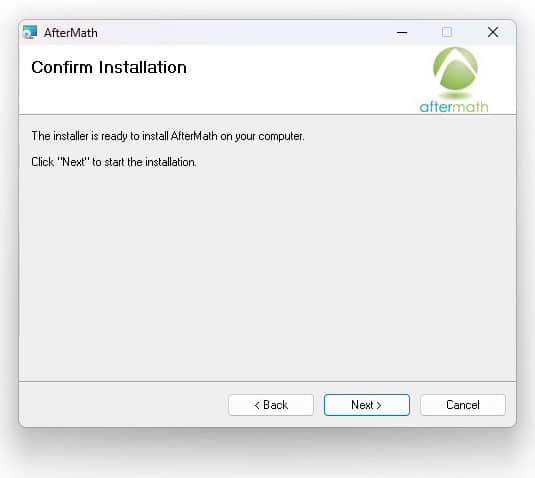
Confirm Installation of AfterMath
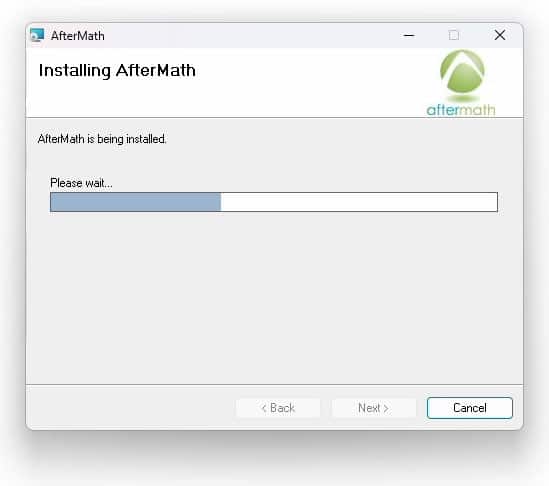
Installation Progress of AfterMath
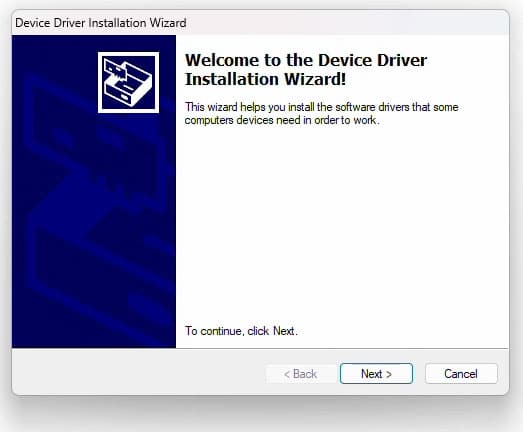
AfterMath Device Driver Installation Wizard
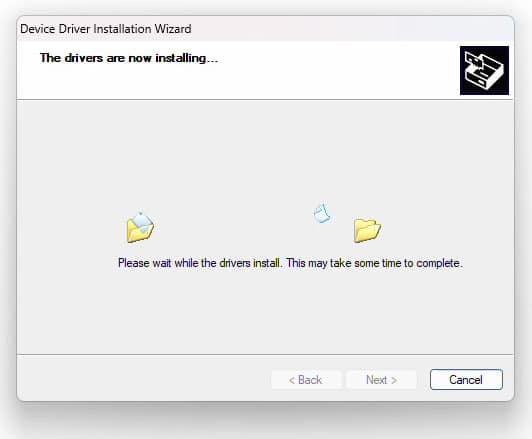
USB Device Driver Installation Progress
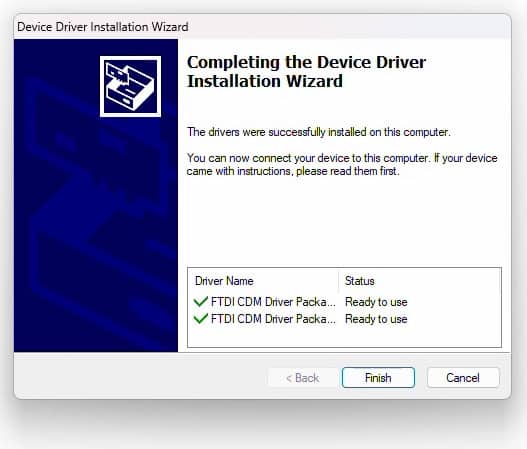
USB Device Driver Installation Completion
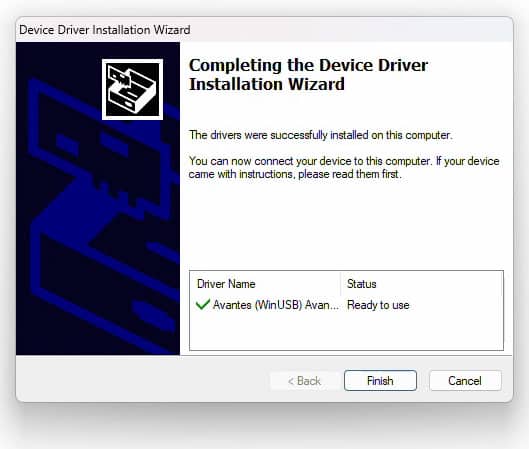
Auxiliary Device Driver Installation
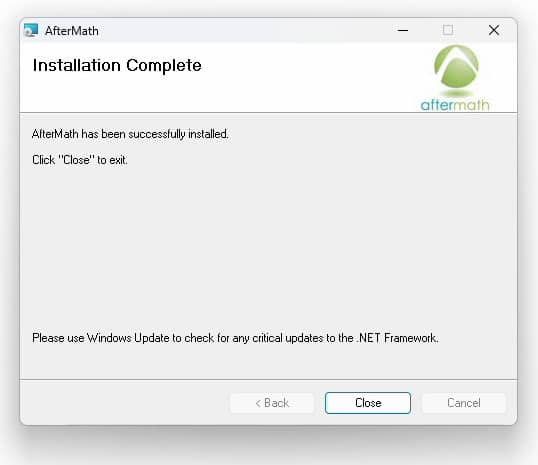
Confirmation of Successful AfterMath Installation
2. Permissions File Verification
On the installation media accompanying a Pine Research potentiostat, there are license files, or “permissions files,” which authorize a computer running AfterMath to control specific instruments. If Aftermath is installed on the computer using the installation media shipped with a particular instrument, then these permissions files are automatically copied to the computer.
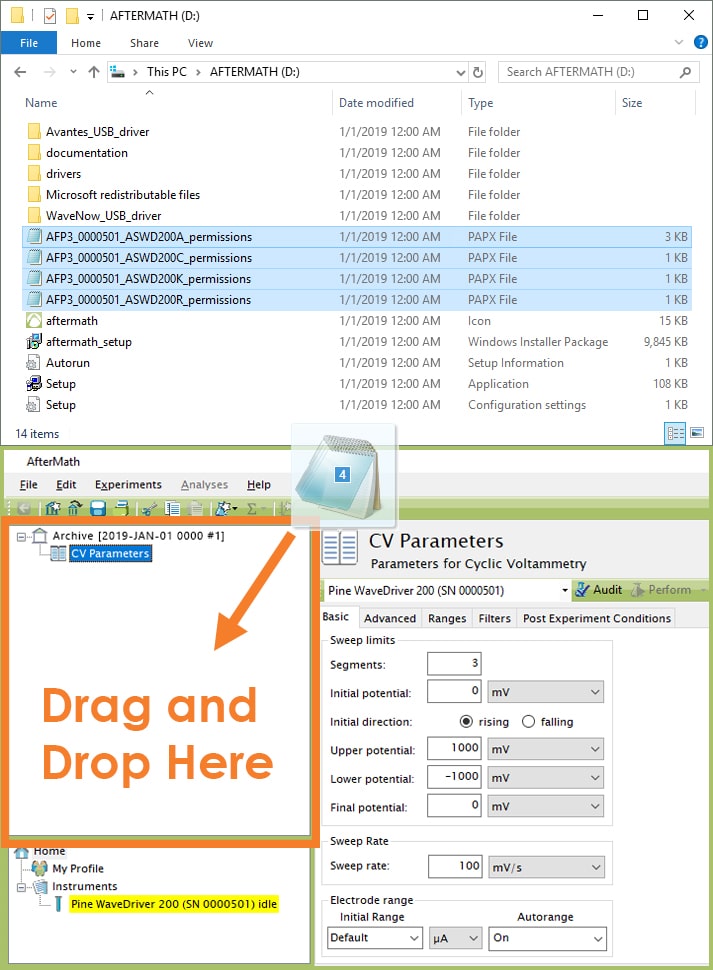
If AfterMath is downloaded directly from the internet and installed on a computer, then the permissions files may not be present on the computer. Users typically notice this condition when the AfterMath “Perform” button is disabled (gray shading). To be sure the proper permissions files are on the computer, launch the AfterMath software. Separately, view the content on the installation media and locate the permissions files (ending in *.papx file extension). Next, drag and drop the permissions files from the installation media directly into the upper left section of the AfterMath window. The AfterMath program will remember the permissions files even after the program is closed (i.e., this step only needs to be performed once). You may be prompted to accept changes by the AfterMath program.
Contact Pine Research for assistance if you encounter any issues with software licensing or permissions files.
Specific permissions files below shown for the Pine Research WaveDriver 200 Bipotentiostat/Galvanostat with EIS. Exact name and number of permissions files may vary for different potentiostat models.
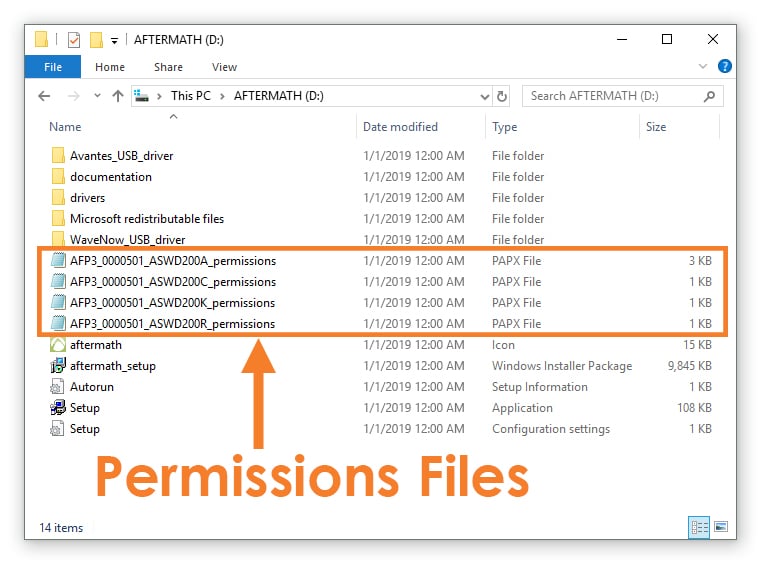
AfterMath Permissions Files
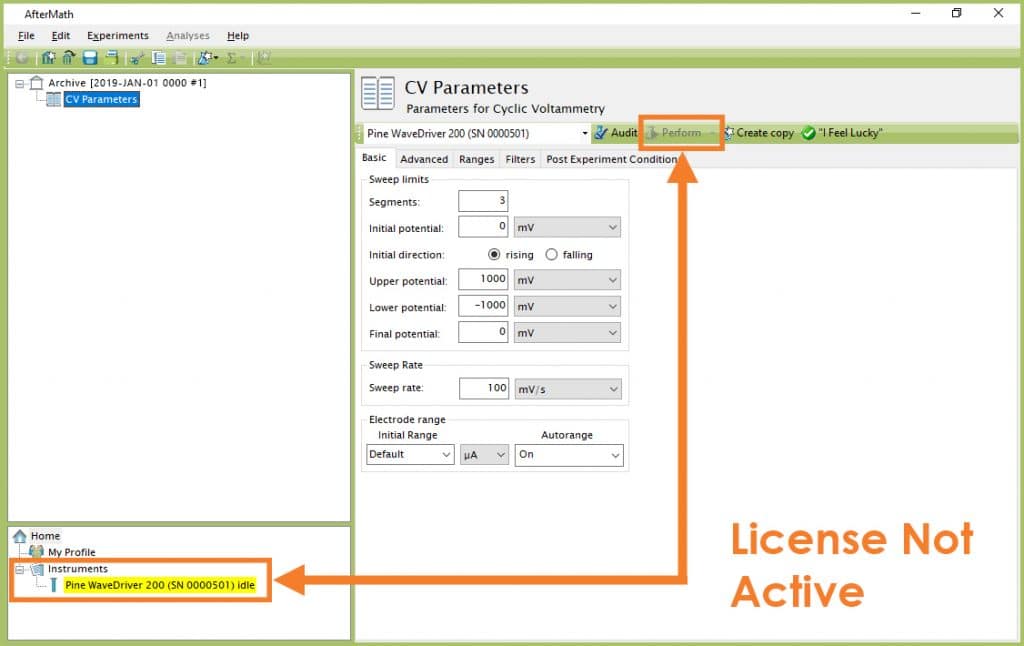
Indications AfterMath License not Active
Copying Permissions Files to AfterMath
3. USB Cable Connection
Pine Research potentiostats connect to a computer using a USB cable supplied with the instrument (Type A male to Type B female USB cable). The USB port on the accompanying computer must be capable of USB 2.0 (or better) data transfer rates. See figures below for examples of a laptop connected to a Pine Research WaveDriver series and WaveNow series potentiostat.
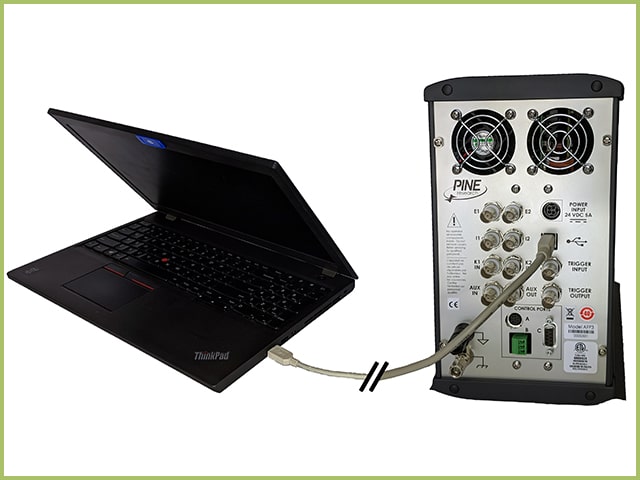
USB Cable Connection Between WaveDriver Potentiostat and Computer
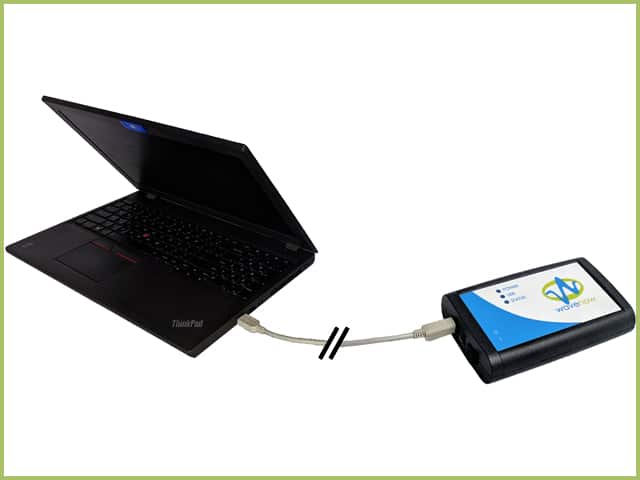
USB Cable Connection Between WaveNow Potentiostat and Computer
4. Installation Checklist
Before proceeding with the Pine Research potentiostat, ensure the following installation steps have been completed:
- The potentiostat is situated in a secure, dry location with adequate space
- Electrical power is connected to the instrument
- AfterMath software is installed on the computer
- The instrument is connected to the computer via a USB cable
