This article is part of the AfterMath Data Organizer User’s Guide
[/call_to_action]
[toggle title = “Multiple Methods to Put a Trace on a Plot” id=”multiple_methods_to_put_a_trace_on_a_plot”]
There are a variety of ways to put a trace on a plot, and you should take the time to learn about all of them. Here is a list of some of the ways to do this:
-
Copy a Trace from an Existing Plot (discussed in this article)
AfterMath makes it very easy for you to copy traces from one plot to another plot. This portion of the User's Guide describes how to do this using traditional copy and paste operations. Traces may also be moved or copied between plots using drag-and-drop mouse actions.
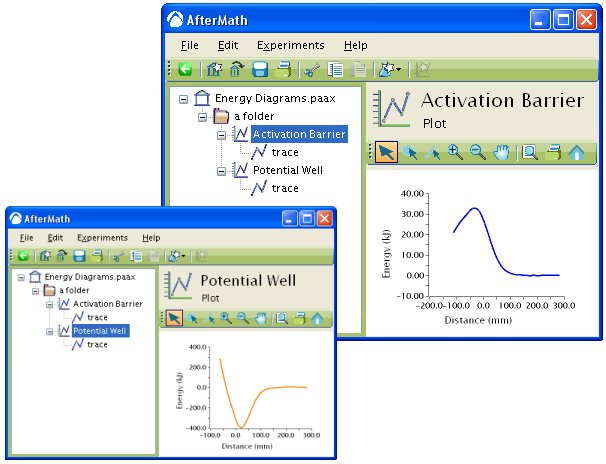
As an example for illustrating how to copy a trace from one plot to another, consider the archive shown below. This archive contains two plots. One plot is called “Activation Barrier” and the other plot is called “Potential Well”. Note that the figure below shows two views of the same archive so that you can see how each plot appears initially.
Note that by fully expanding the archive tree (on the left side of the screen) to reveal all levels of the archive hierarchy, it is possible to see the individual traces in the tree. The traces on both plots are named “trace” in this example.
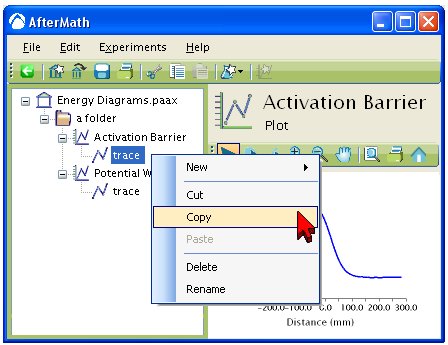
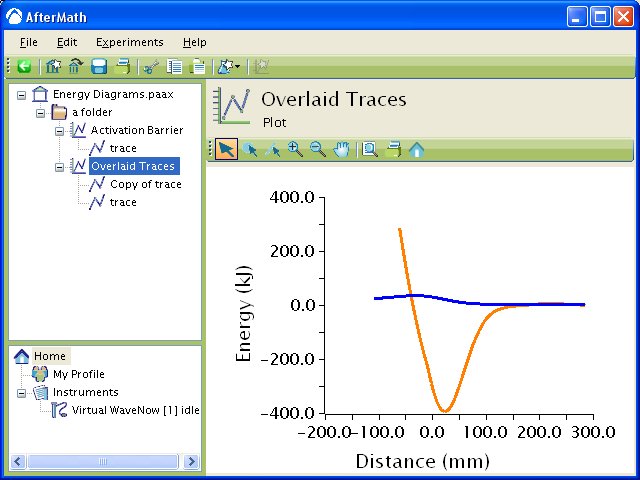
To copy the trace from one plot to another plot, the following three-step, copy-and-paste sequence is performed directly on the traces and plots in the archive tree.
If you wish to move (rather than copy) traces from one plot to another, then use the “Cut” option rather than the “Copy” option when performing the sequence of operations described above. If you use “Cut”, then the trace is removed from the original plot when you “Paste” it on to the destination plot.


