


This article is part of the AfterMath Data Organizer User’s Guide
To install AfterMath, five easy steps should be taken:
- Install the software
- Install the hardware
- Connect the Instrument to the Computer
- Run the AfterMath application
- Remove the software if desired
1. Software Installation
The software may be installed using two methods:
- The CD supplied with the purchase of the instrument. To use the supplied CD, insert it into the computer. If autoplay is enabled for the drive, the installation will begin automatically. Otherwise, navigate to and execute the “Setup.exe” file on the CD.
- By using the MSI file downloaded from this page.
![]() NOTE:
NOTE:
Web-based installations are not authorized to run experiments on an instrument and can therefore only be used to view and manipulate existing data previously produced by a CD-based installation. This enables a researcher to use the fully-enabled application in the lab to produce results but use this partially-enabled version to work with the results outside the lab environment.
Both installations navigate through the following steps:
Begin installation
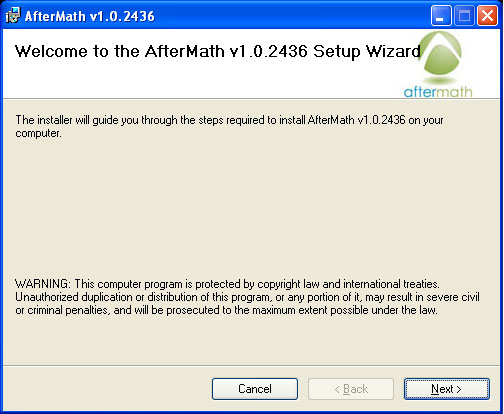
If all pre-requisite software is already installed, the AfterMath installation begins with a “Welcome” dialog:
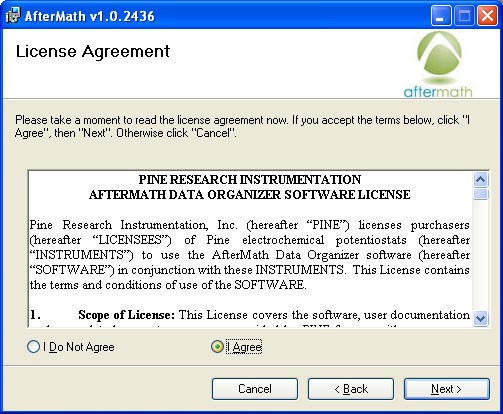
However, if any of the following dialogs appear first then the necessary pre-requisite software must be installed before continuing. Follow the links provided for step-by-step instructions on installing these packages (connection to the internet required):
- .NET Run-time Files
- Visual C++ Run-Time Files
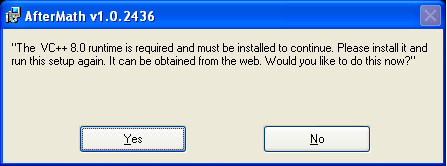
If the following dialog box pops up, please install the visual C++ run-time files. Please re-start the installation after this step.
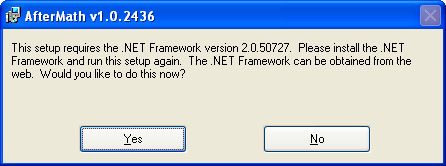
If either of the dialogs below appear, install the .NET run-time files. Please re-start the installation after this step.

Continue installation after pre-requisites have been met
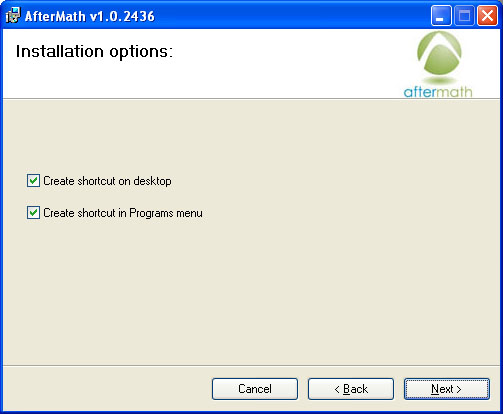
There are options to create (or not) shortcuts to run the application on the desktop and Programs menu. Make the desired selections and select “Next”:
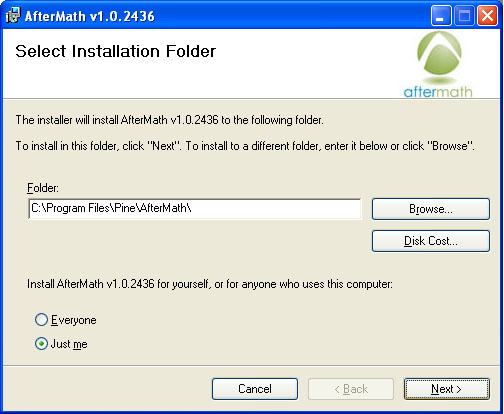
The location for the application and whether it is installed for all users or the currently logged-in user may be modified, then select “Next”:
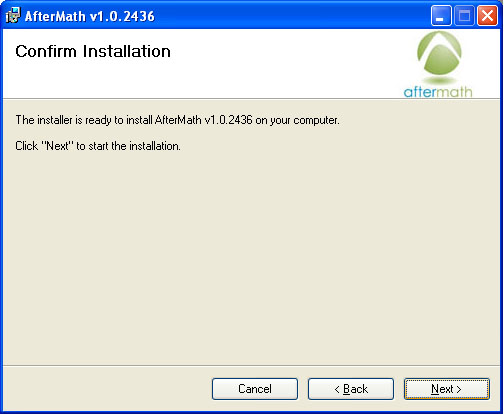
Select “Next” to confirm the installation settings and begin the actual installation process:
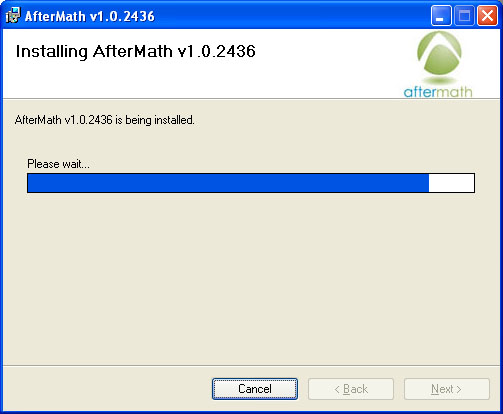
A progress dialog similar to the following should appear:
2. Device Driver Installation
Some AfterMath installation packages will automatically install device driver software for your potentiostat. For example, if you are installing AfterMath from a CDROM shipped with a WaveNow or WaveNano potentiostat, the device drivers for these instruments will automatically be installed at this point. The screen shots below show how this phase of the installation appears. Note that for some instruments, such as the CBP bipotentiostat system, the device driver is not automatically installed and must be installed in a separate step.
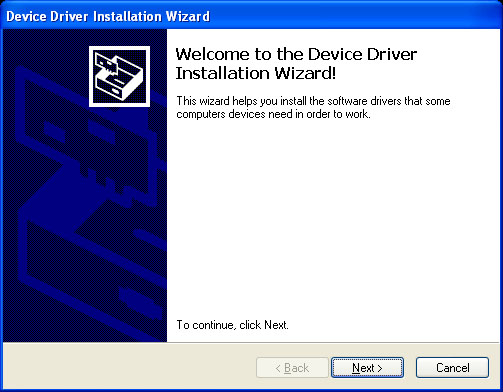
The hardware device driver installation should follow. Select “Next” to continue:
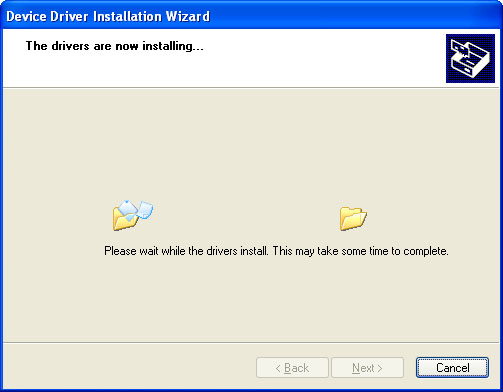
A progress dialog similar to the following should appear:
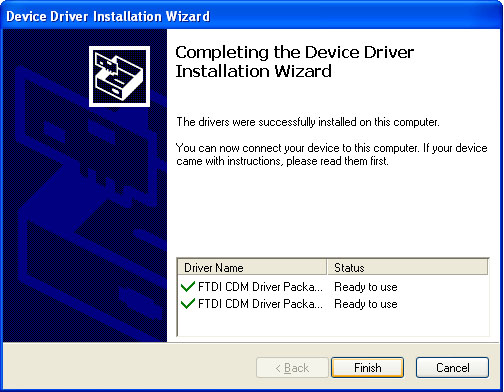
The following notice should appear when the hardware driver installation is complete. Select “Finish” to continue:
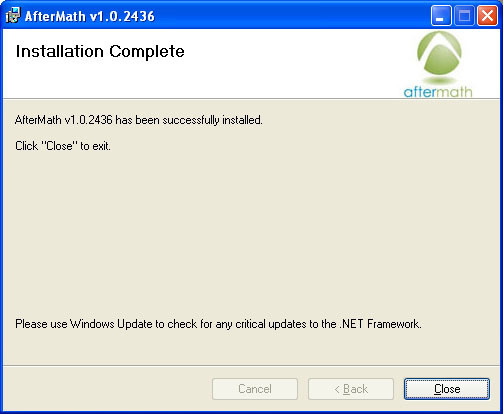
The following final notice should appear when entire installation is complete. Select “Close” to finish:
3. Computer Connection
If you are installing AfterMath for use with a USB instrument (such as a WaveNow or WaveNano potentiostat), then at this point, you should connect the instrument to the computer using the supplied USB cable. Then, connect the instrument to its power supply and turn on the power. Once you have turned on the power to the instrument, Windows should recognize that the new hardware has been connected. This process may take anywhere from 5 to 30 seconds.
If you are installing AfterMath for use with a PCI bus instrument (such as the CBP Bipotentiostat system), then at this point, you should install the NIDAQ device driver software (this is a separate installation process). Once the NIDAQ device driver is installed, you should turn off your computer and physically install the interface board in a free PCI slot inside your computer. Then, you can turn your computer back on and Windows should recognize that the interface board has been installed. After that, you can connect your instrument to the interface board using the appropriate cable.
![]() INFO:
INFO:
If the order of installation presented here is not followed and the instrument is connected to your computer before you have installed the device driver software, then the instrument may not be recognized by Windows or by AfterMath.
4. Run the AfterMath application
The installer optionally (and by default) creates a desktop shortcut and another shortcut in the Windows Start Menu, either of which you may use to start the AfterMath software. Once you have started the application, the login screen (see below) appears.

![]() NOTE:
NOTE:
If the order of installation described on this web page (above) is not followed, and especially if AfterMath is started prior to installing the hardware for the first time, then no instruments will appear in the AfterMath Instrument List.
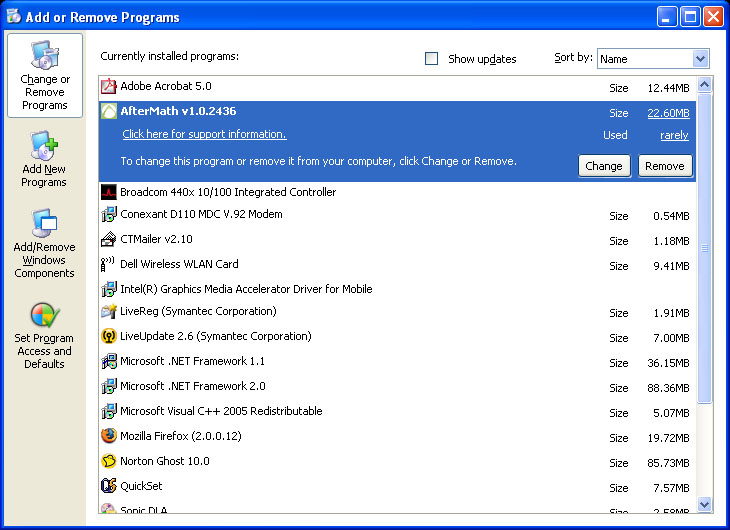
5. Removal
The application can be uninstalled using the Add-Remove Programs dialog (as seen below). Select “AfterMath” and then the “Remove” button.
Comments: